The 10 step Emergency Commercial Roof Repair Sequence
Each step lists the action, the tools or materials involved, and the typical specification we work to. Follow it top to bottom.
- Intake call and severity triage (5 to 10 minutes). Dispatcher logs building type, roof system (TPO, EPDM, PVC, modified bitumen, metal, BUR), approximate square footage, age, interior damage location, and whether water is actively entering. Photos are requested via text. Power and electrical risk are flagged. Tenant occupancy, stored inventory value, and any rooftop equipment (RTUs, kitchen exhaust, solar) are noted because they change the staging plan.
- Crew assignment and truck stocking. Standard emergency kit loaded: 20 ft x 100 ft reinforced poly tarp, 6 mil sheeting, sandbags, 2x4 lumber for battens, butyl tape, polyurethane sealant tubes, TPO and EPDM patch kits (heat weld and self adhered), termination bar, #12 roofing screws with 3 in plates, wet surface mastic, and a moisture meter. A hot air welder, propane torch (for mod bit), and 5 kW generator are loaded for any call flagged as larger than 100 sf.
- Site arrival and safety setup. Crew identifies tie off anchors, sets warning lines 6 ft from edges, and stages a 50 ft fall protection lifeline. Interior areas under the leak are cordoned. Ceiling tiles directly under active drips are pulled to release ponded water from the plenum. Electrical panels within 10 ft of active drips are de energized in coordination with the facility contact, and emergency lighting paths are verified before crews step off the ladder.
- Leak origin verification. Crew chief walks the suspected zone with infrared and probes seams, penetrations, and field membrane. Wind driven leaks often originate 10 to 30 ft uphill from the interior stain. Seam pulls are tested at 5 lbf with a probe, and any soft spot more than 2 ft from the visible breach is marked with paint. For deeper diagnostics, see our notes on roof leak origin detection versus repair.
- Temporary dry in (primary objective). For membrane roofs, a self adhered TPO or EPDM patch is installed with a minimum 6 in overlap on all sides of the breach, rolled with a silicone hand roller at 40 psi equivalent pressure. For larger field tears, a tarp is mechanically fastened with 2x4 battens at 12 in on center using #12 screws and 3 in metal plates. Seams are sealed with butyl tape and topped with polyurethane sealant. On metal roofs, the patch laps follow the panel rib direction, never across, with butyl under every fastener head.
- Penetration and flashing repairs. Pipe boots replaced with EPDM molded boots, clamped with stainless band, and sealed with water block mastic. Failed pitch pans are scraped, primed, and refilled with two part pourable sealer to a depth of 2 in minimum. Counterflashing reset with termination bar at 8 in on center. HVAC curb flashings are checked at all four corners, since splits typically start at the welded corner gusset.
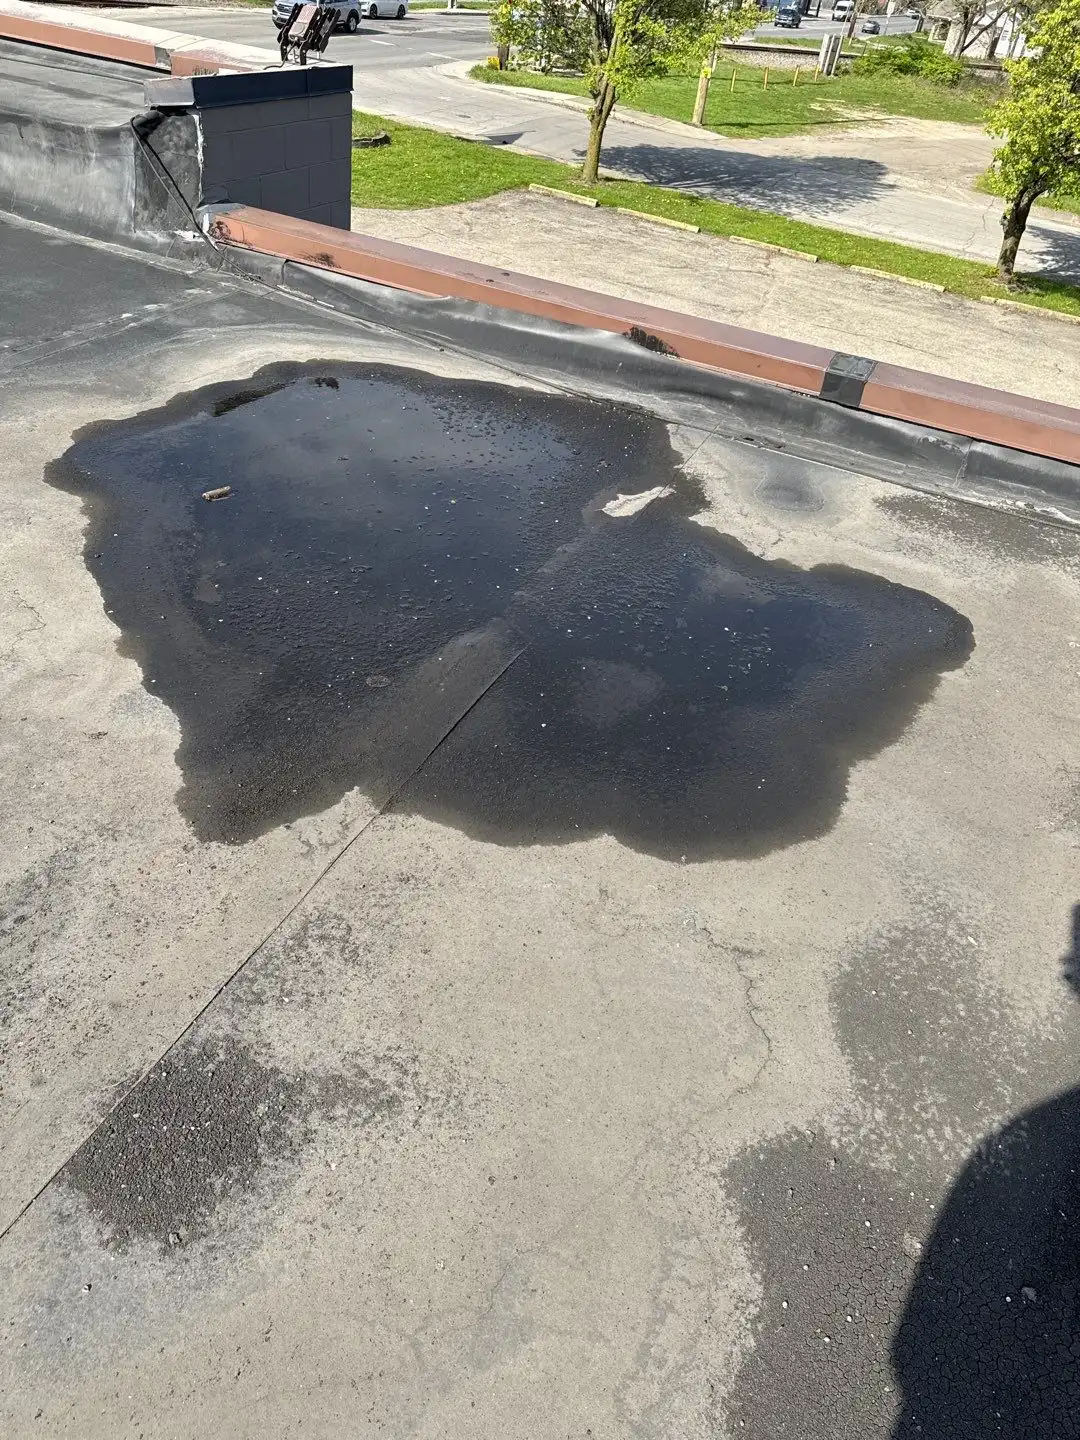
- Drain and scupper clearing. Internal drains cleared of debris, strainers reinstalled, and downstream flow verified with a 5 gal water test. Ponding deeper than 1/2 in after 48 hours is documented as a code concern. Overflow scuppers are sized against the primary drain, and any blockage in the leader line below the roof is reported to the plumbing trade for follow up.
- Interior moisture assessment. Insulation core samples taken at 10 ft grid spacing in the affected zone. Readings above 18 percent moisture content in wood blocking or above 75 percent relative humidity in iso boards flag wet substrate for removal. Core holes are patched with matching insulation plugs and a 9 in self adhered cover patch. Reference the commercial water damage restoration workflow for interior drying steps.
- Documentation packet. Crew captures minimum 25 photos: pre repair, in progress, post repair, wide shots, and close ups with scale reference. Moisture readings logged with timestamp and location. Material lot numbers recorded for warranty. The packet is delivered as a single PDF to the property manager and, when requested, directly to the insurance adjuster handling the claim.
- Permanent repair scheduling. Dry in buys time. A return visit is scheduled for full section replacement, recover, or membrane reweld once weather and substrate moisture allow. See commercial emergency roof repair for scope expansion options.
Material Specifications We Carry on Every Emergency Truck
- TPO membrane: 60 mil reinforced, white, 5 ft and 10 ft roll widths.
- EPDM membrane: 60 mil and 90 mil black, cured and uncured flashing.
- Self adhered patches: 12 in x 12 in, 12 in x 50 ft rolls.
- Fasteners: #12 and #14 roofing screws, 2 in to 6 in lengths, 3 in galvanized plates.
- Sealants: polyurethane (rated 25 year), water block mastic, two part pourable pitch.
- Tarps: 20 x 30 ft, 20 x 100 ft, reinforced 12 mil minimum.
- Diagnostics: pin and pinless moisture meters, infrared camera, 100 ft tape, leak dye.
- Metal roof kit: butyl tape (1/8 in x 3/4 in), color matched touch up paint, gasketed stitch screws.
- Mod bit kit: SBS torch down rolls (3 ft x 33 ft), cold applied adhesive for no flame zones.
Decision Thresholds We Apply On Site
- If wet insulation exceeds 20 percent of the field area, recover or replacement is recommended over patching.
- If the membrane is past 18 years and showing surface checking, dry in is treated as a bridge to replacement.
- If three or more penetrations leak in the same quadrant, the cause is usually substrate movement, not membrane failure.
- If interior moisture readings stay above 18 percent after 72 hours of drying, blocking and decking are pulled.
- If ponding water is present at the leak site, drain modification is quoted alongside the repair.
- If wind speeds at the site exceed 25 mph sustained, tarp work is paused and interior containment is expanded until conditions allow safe re entry.
- If the deck is gypsum or lightweight insulating concrete and shows saturation, fastener pullout values are retested before any mechanically attached patch is trusted.
What Clarksville Commercial Roofing Hands Off Before Leaving the Site
- A marked up roof plan showing every patch, core, and tarp location with dimensions.
- Moisture map of the affected zone with reading values at each grid point.
- Photo packet (minimum 25 images) with timestamps and orientation notes.
- A written scope for the permanent repair, including estimated material lead time and any code upgrades triggered by the wet area.
- Direct contact for the crew chief assigned to the follow up visit, so the property manager is not routed through general intake again.
Typical Emergency Dry-In Costs in Clarksville
Emergency Repair Cost Ranges by Scope
Ranges reflect typical Central Indiana commercial calls. Storm severity, access, and roof height shift final numbers.